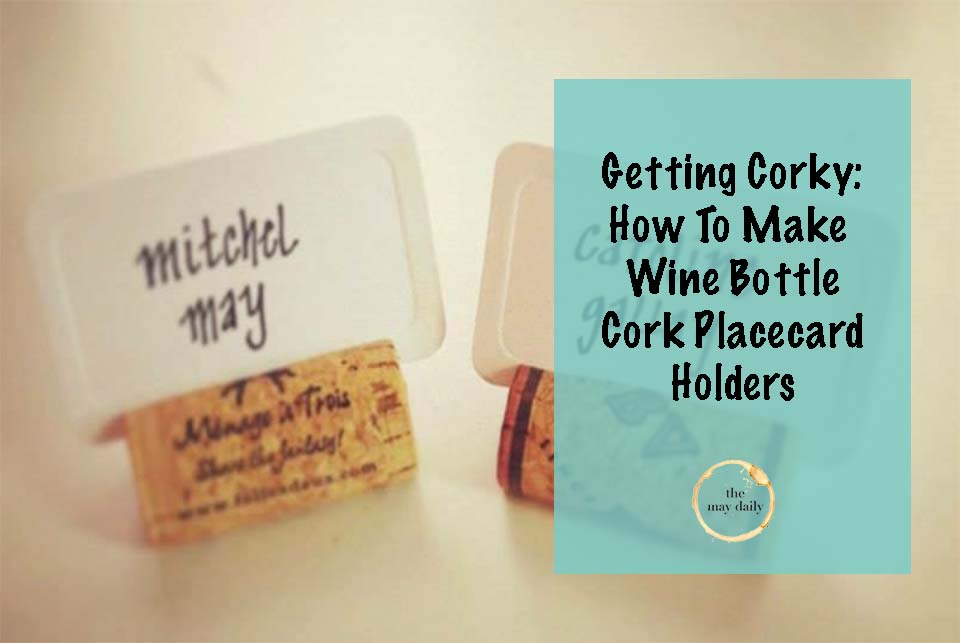
When I first heard Caroline suggest the idea of using wine corks to hold place cards for her Rehearsal Dinner... All I could think was "CHALLENGE ACCEPTED."
I realized that the actual wine-drinking would not be my biggest contribution, but still, I thought I'd finally found the upside to being "the crafty one." But my excitement was short-lived. Did you realize that stores actually sell wine corks? Like, not in wine? Convenient, and unfortunate.

My how-to, below:

Step 1: Acquire Wine Corks
As mentioned previously, the preferred method is throwing a dinner party or taking some serious time to yourself. Whatever your method, make sure to purchase a bottles with real corks, not the silly new plastic ones. Splurge in advance to prepare/thank yourself for all the amazing crafting you're about to do.
Other less preferred, but highly effective method, include purchasing corks in bulk from Hobby Lobby, thrift shops, or collecting them from friends.
Step 2: Flattening Out a Side
I recommend taking this one outdoors. I took to my porch in order to prevent a mass amount of dust or clean-up inside.
First, I tried cutting one side off with a knife, as suggested in another blogger's post. NOT RECOMMENDED. In addition to not leaving a smooth bottom for the cork to sit flat, I was in danger of losing some fingers.
I found a palm sander was a much better method. It's just under a $20 investment, and you'll use it again if you intend to DIY in the future.
I used a simple squeeze clamp to hold the cork. Another pro of using the clamp is that it helped me keep the cork still/level so I sanded it flat. I lost a little of the clamp by sanding too much, but eventually I got the hang of it!
Sand just a little bit at a time on the first few, until you get comfortable with how quickly the corks disintegrate into dust.
Also, do the sanding of all your corks at once - this is the messy part, and you don't want to try to get the dust off you more than once. It's so fine that it seems to stick to everything; some of it crept in my apartment despite my liberal use of wet-wipes before going back inside.


Step 3: The Slit
Now on to the easier part: you'll need a slit on the opposite side from the flat part in order to have a place to slide your place card.
I used a drywall knife (with a sharp new blade) to cut a line hot-dog style on the cork. I cut my slits slightly to the back and at an angle so that the place card could easily be read by someone walking by the table. I'm not sure if you can see it in the picture, but I used a cutting board below where I was working to make sure I didn't mess up my table.

Step 4: Accessorize
Like all great ensembles, it's the little things that make it all come together. Since I'm using these as the place card holders for a rehearsal dinner, I set out to find pretty (and cheap) card stock to insert. I found these from Crate & Barrel, for the sale price of $3.99 for 25! The embossed edges gives them a touch of formality.
Next was the hard part: calligraphy. Not for the faint of heart or shaky of hand, people.

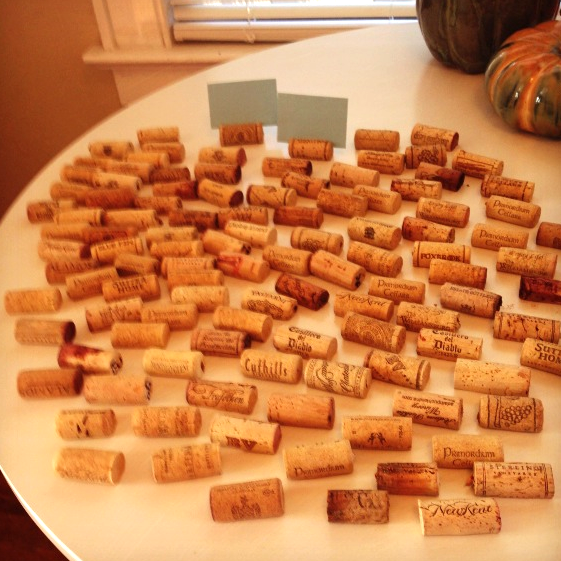
Why couldn't these two have fewer friends?
I mean, 111. Really, is this completely necessary?
"A quiet, intimate affair with a few hundred of our closest friends..."